DIY Ti Engagement Ring

For reasons that are still not entirely clear to me I decided to design and make my now fiancee an engagement ring. This story involves code, 3D printing, polishing, diamonds- buckle up, it could be a long one.
Why?
When I first starting thinking about a ring I went to local jewellery designer and told her what I wanted and then she ghosted me. Not the best of starts- I took it as a sign. The millennial part of me wanted something unique that had a bit of a story behind it. Obviously my fiancee is worth it, but I hope that a ring isn't the way I show her what she means. So it became a bit of a DIY project.
How?
There are 4 parts to this- the design, material, the diamond, code and the finishing.
Design?
Is it really design if you're just using data to inform your design? Is that the right question to ask?
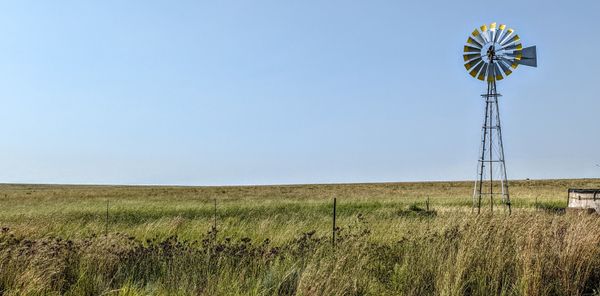
First a couple of general things- I wanted it to be practical, comfortable and strong. Insert some comparison here to the person for who this is for.
Keeping that in mind the idea I had to was encode the GPS data from our first date into the ring. Now I hadn't actually been tracking our first walk, but managed (with some help) to mark out the points on an app and get the coordinates. These included latitude, longitude as well as elevation for each of the 400 points along the track.
Initially I had thought it would be quite cool if the ring looked a bit like the route. The problem was that the route looked like this:
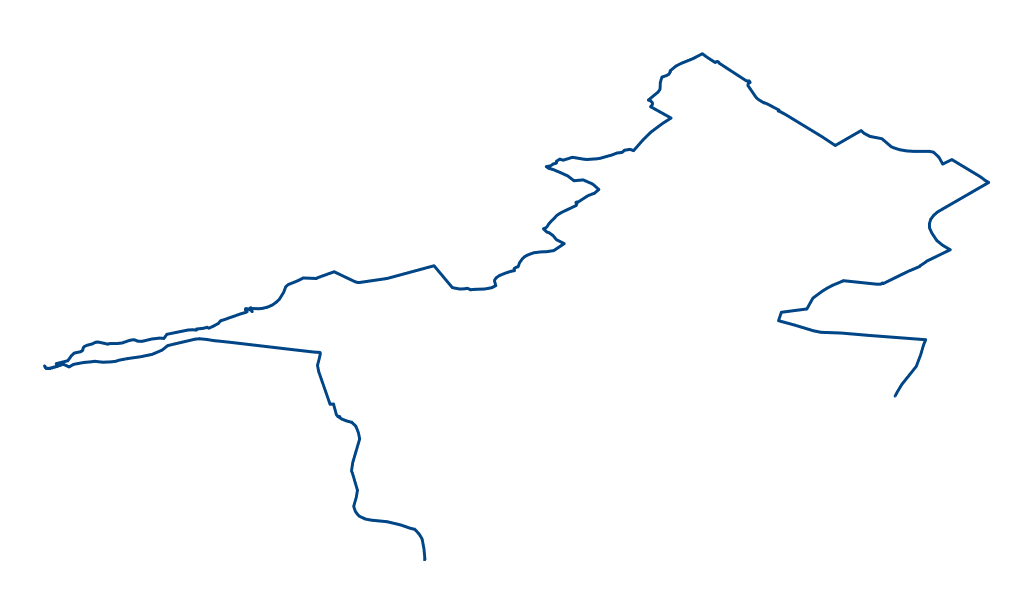
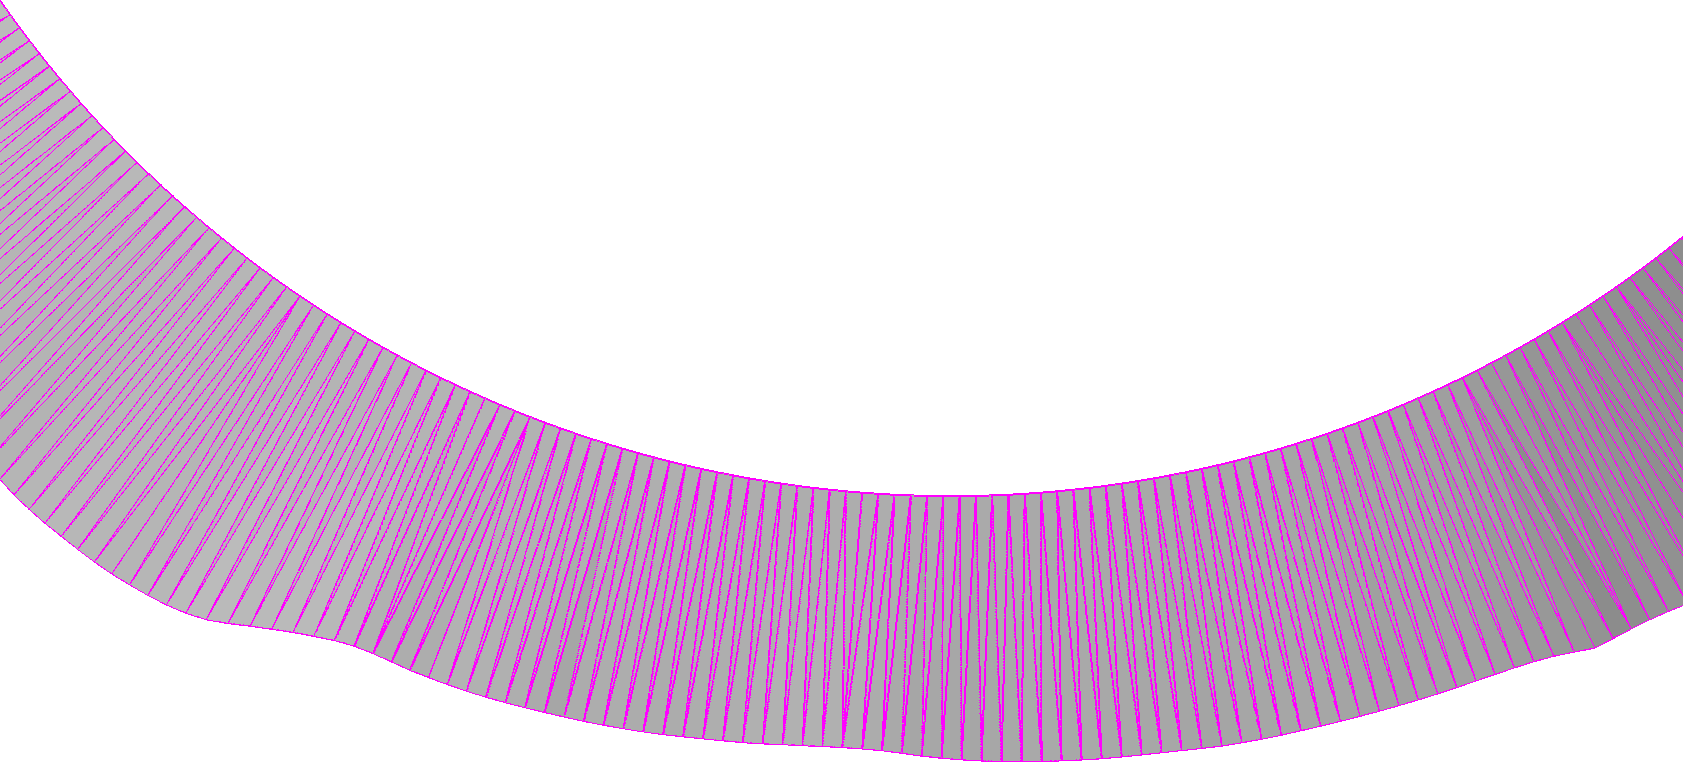
Now as can be seen, this is no circle- so just giving that some thickness and putting it on your finger probably wouldn't be very comfortable or practical. After some thought I decided to split it all up- this the latitudes, longitudes and elevation points. I wanted the inside of the ring to be smooth and so I had the outside edges to play with. I decided to use the latitude and longitude to determine the with on each side of the ring- this looked like this:
This might take some explaining- this is a side view. The straight line at the top is the inside edge of the ring, i.e. your finger would go vertically through it. The line below that is the latitude points and the line below that is the longitude points. Now, first things first- would you be able to reconstruct the walk using this data- no, not without the initial point and some scaling values. Sad-face.
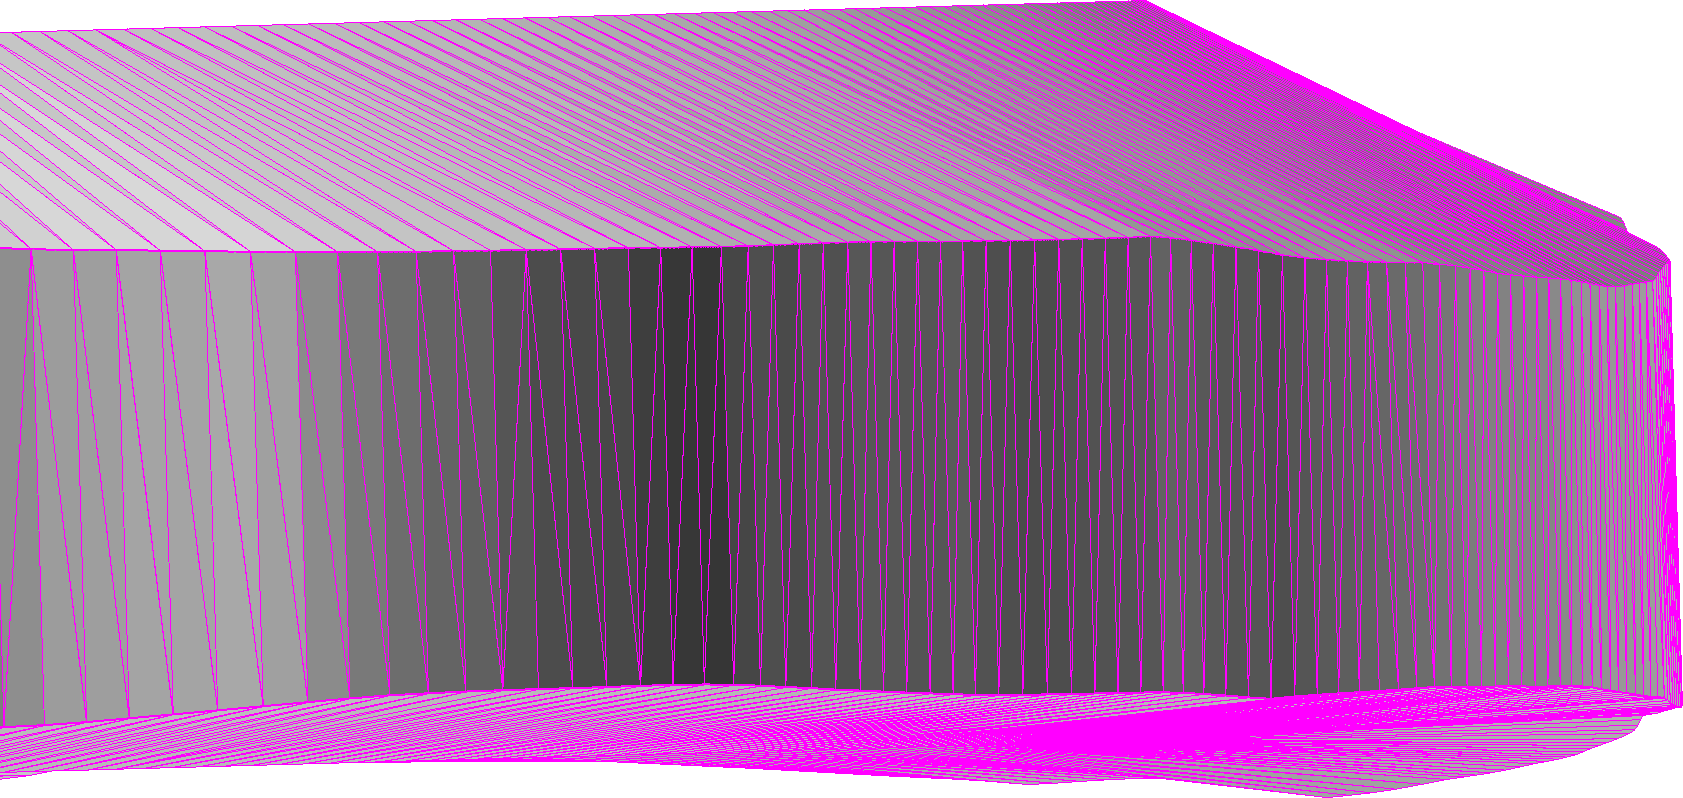
The elevation was encoded into the thickness- there was one big hill we went up, so this came out like this:
You should be able to see a smooth inside surface with the elevation profile of the walk along the bottom edge. This extended all the way around the ring.
Material
Now that there are over 1200 data points encoded into this ring there is no way somebody could manually machine it, so 3D printing it is. Some suppliers will print your design in a wax and then cast it in gold, however you loose quite a bit of the resolution like that. Now Direct Metal Laser Sintering allows you to print in metal- cool! There are a couple of metals to choose from, but one in particular caught my eye- Titanium- TI6Al4V to be precise. Design spec was to be strong- not much can beat titanium.
There are various warnings about making rings using titanium, the greatest fear seems to be that you can't get it off because you can't cut it with a part of pliers if you knuckle swells or something like that. I decided to work around this by not joining the ring up- the diamond will be linking the ends. By removing the diamond you can grab each end with a pair of pliers and bend it open. This would obviously be a destructive act, but I'm assuming that there are more important issues at the point when you're taking the diamond out of the ring. Now I hear your asking how do you simply take the diamond out- fear not- I cover that in the next section.
Another plus for the titanium camp- there is a lot of it, and its relatively easy to mine, so you're not supporting child/slave labour by using it. It can also be anodised to all kinds of cool colours, but fiancee drew the line there.
Diamond
Now, the elephant in the room- engagement rings usually have diamonds in this which was a marketing ploy from the 1930's. There are serious questions about how they are mined and how the price is tightly controlled. Having said all that- sometimes you just want what you want and my fiancee wanted a diamond- she's the one that is going to wear it, so its up to her. I have to admit they they are very sparkly and pretty, (also the hardest known thing to man) .
The nice thing about buying a diamond is that is comes with a certificate that has its exact dimensions on it.
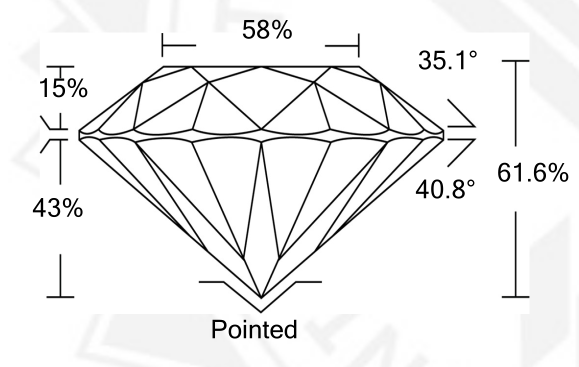
This enabled me to design the ring to fit the diamond exactly.
So the ring that is no longer just a boring circle- now it has to hold a stone. What's more is that diamonds look better with more light, so we want to hold it as little as possible without dropping it.
Generally stone setting is done by putting the bottom into a hole and wrapping some prongs around the top to keep it in place. This is usually done with some very specialised tools and gold. Titanium is not gold and so bending it scares me. We're also building something unique, so let's just YOLO and try something.
What if we used the fact that titanium is so strong to our advantage to hold the diamond tight. The idea being that we're print the ring to be a certain size, then use a vice to make it smaller (Still within the elastic deformation part), put the diamond in place, let the vice go and then the diamond would be pinched in. I wish I could claim this was my idea, but it is relatively common and called tension setting. All the ones that I have seen work by using force to open the ring up and put the stone in- What if I could do it the other way around and close it up a bit. This means that the two ends would need to go past each other and grab the stone from the other side. If none of that made any sense, maybe this picture will:
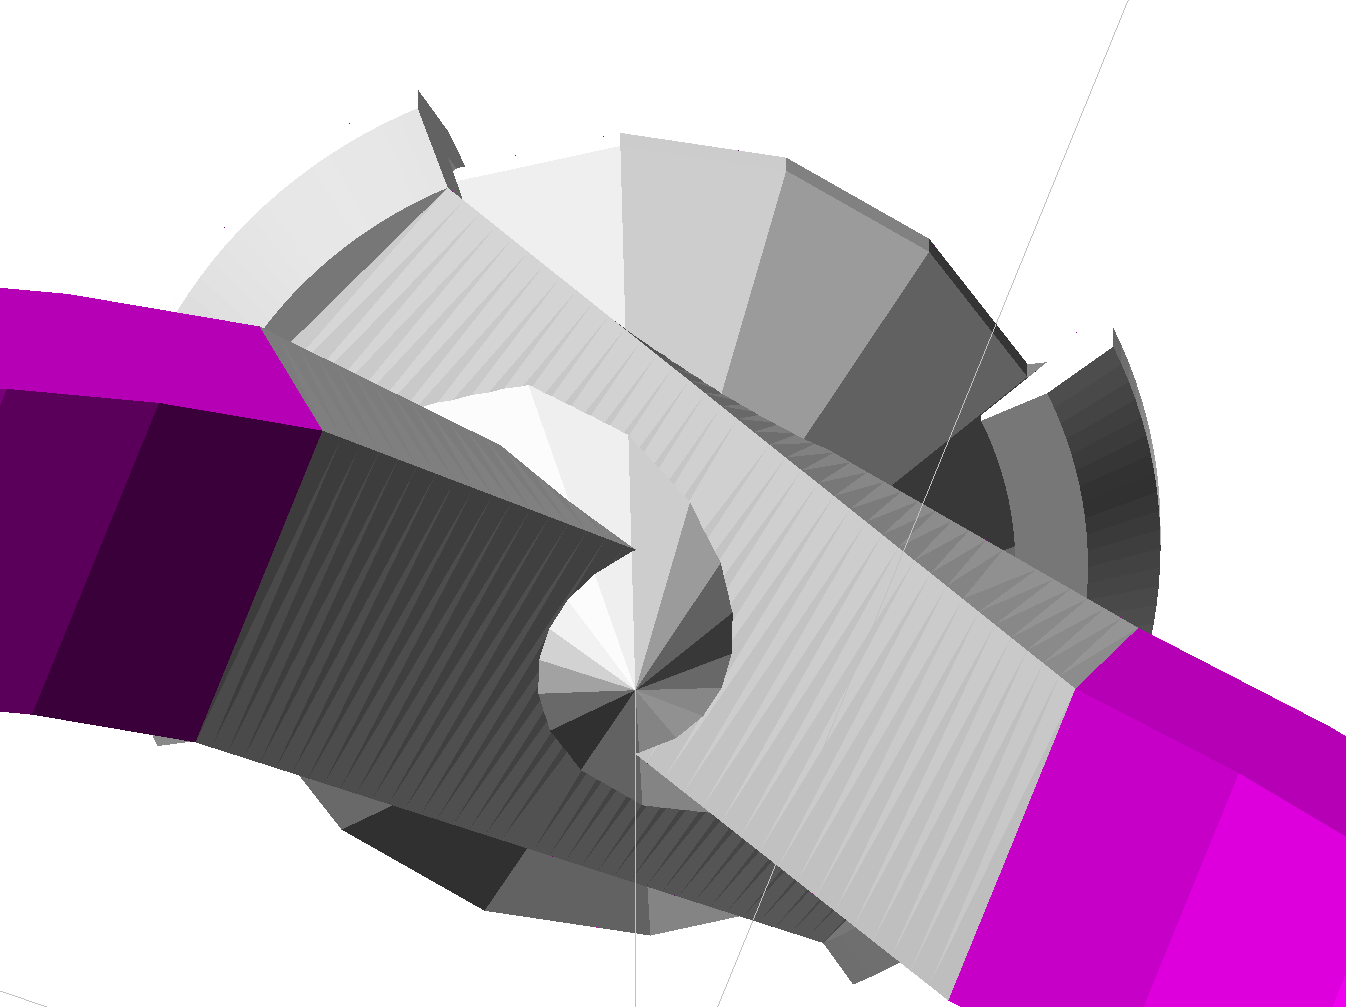
Now you might be able to spot the problem here- the two "claws" go through the diamond and through each other- this just won't do.
So the next section is all about how I've been doing this "design" and how I essentially wrote code to generate the design. Feel free to skip ahead if code isn't you deal.
Design by Code
I've been a big fan of OpenSCAD for a while and so decided to use it for this project. Due to the data that I needed to encode I decided a but of python was to read the data, smooth it and so forth. Little did I know this would be needed a lot more than I thought.
Most of the features in the ring are polyhedra- this means that each point has to be defined manually, i.e. an x, y and z coordinate for every point in the model. Once you have every point you have to join them up into triangles by defining the set of nodes that creates the face of the triagle. If you've done all of that right then you should end up with a complete solid that represents what you're trying to make. I should state- none of this was done manually and needed a lot of trigonometry to define all the points by simply giving a desired radius, thickness and width.
This was all going well for the ring with the data encoded in it as the following picture shows, albeit with a rough resolution.

The fun really started when making the claws. I knew the points that made up the end of the ring and I knew the points of the bottom of the claw, but just linking them together as shown in a previous image interferes with the link from the other side as well as the diamond.
The solution was to deform the line using a curve that I could control. I experimented a bit and found a cosine for the width, tangent for the height and nothing for the remaining dimention. This got me to something like this:

Now some of you may have noticed the fact that the bottom face it a curve on the claw and straight on the bottom of the ring- this cuased untold problems with the polyhedra, but also meant that it looked a bit square. It was also a bit think where it joined the claw which didn't feel like it would be particularly strong.
As luck would have it there was a simple solution- use the side edge of the ring and link that to the curved part of the claw, resulting in:
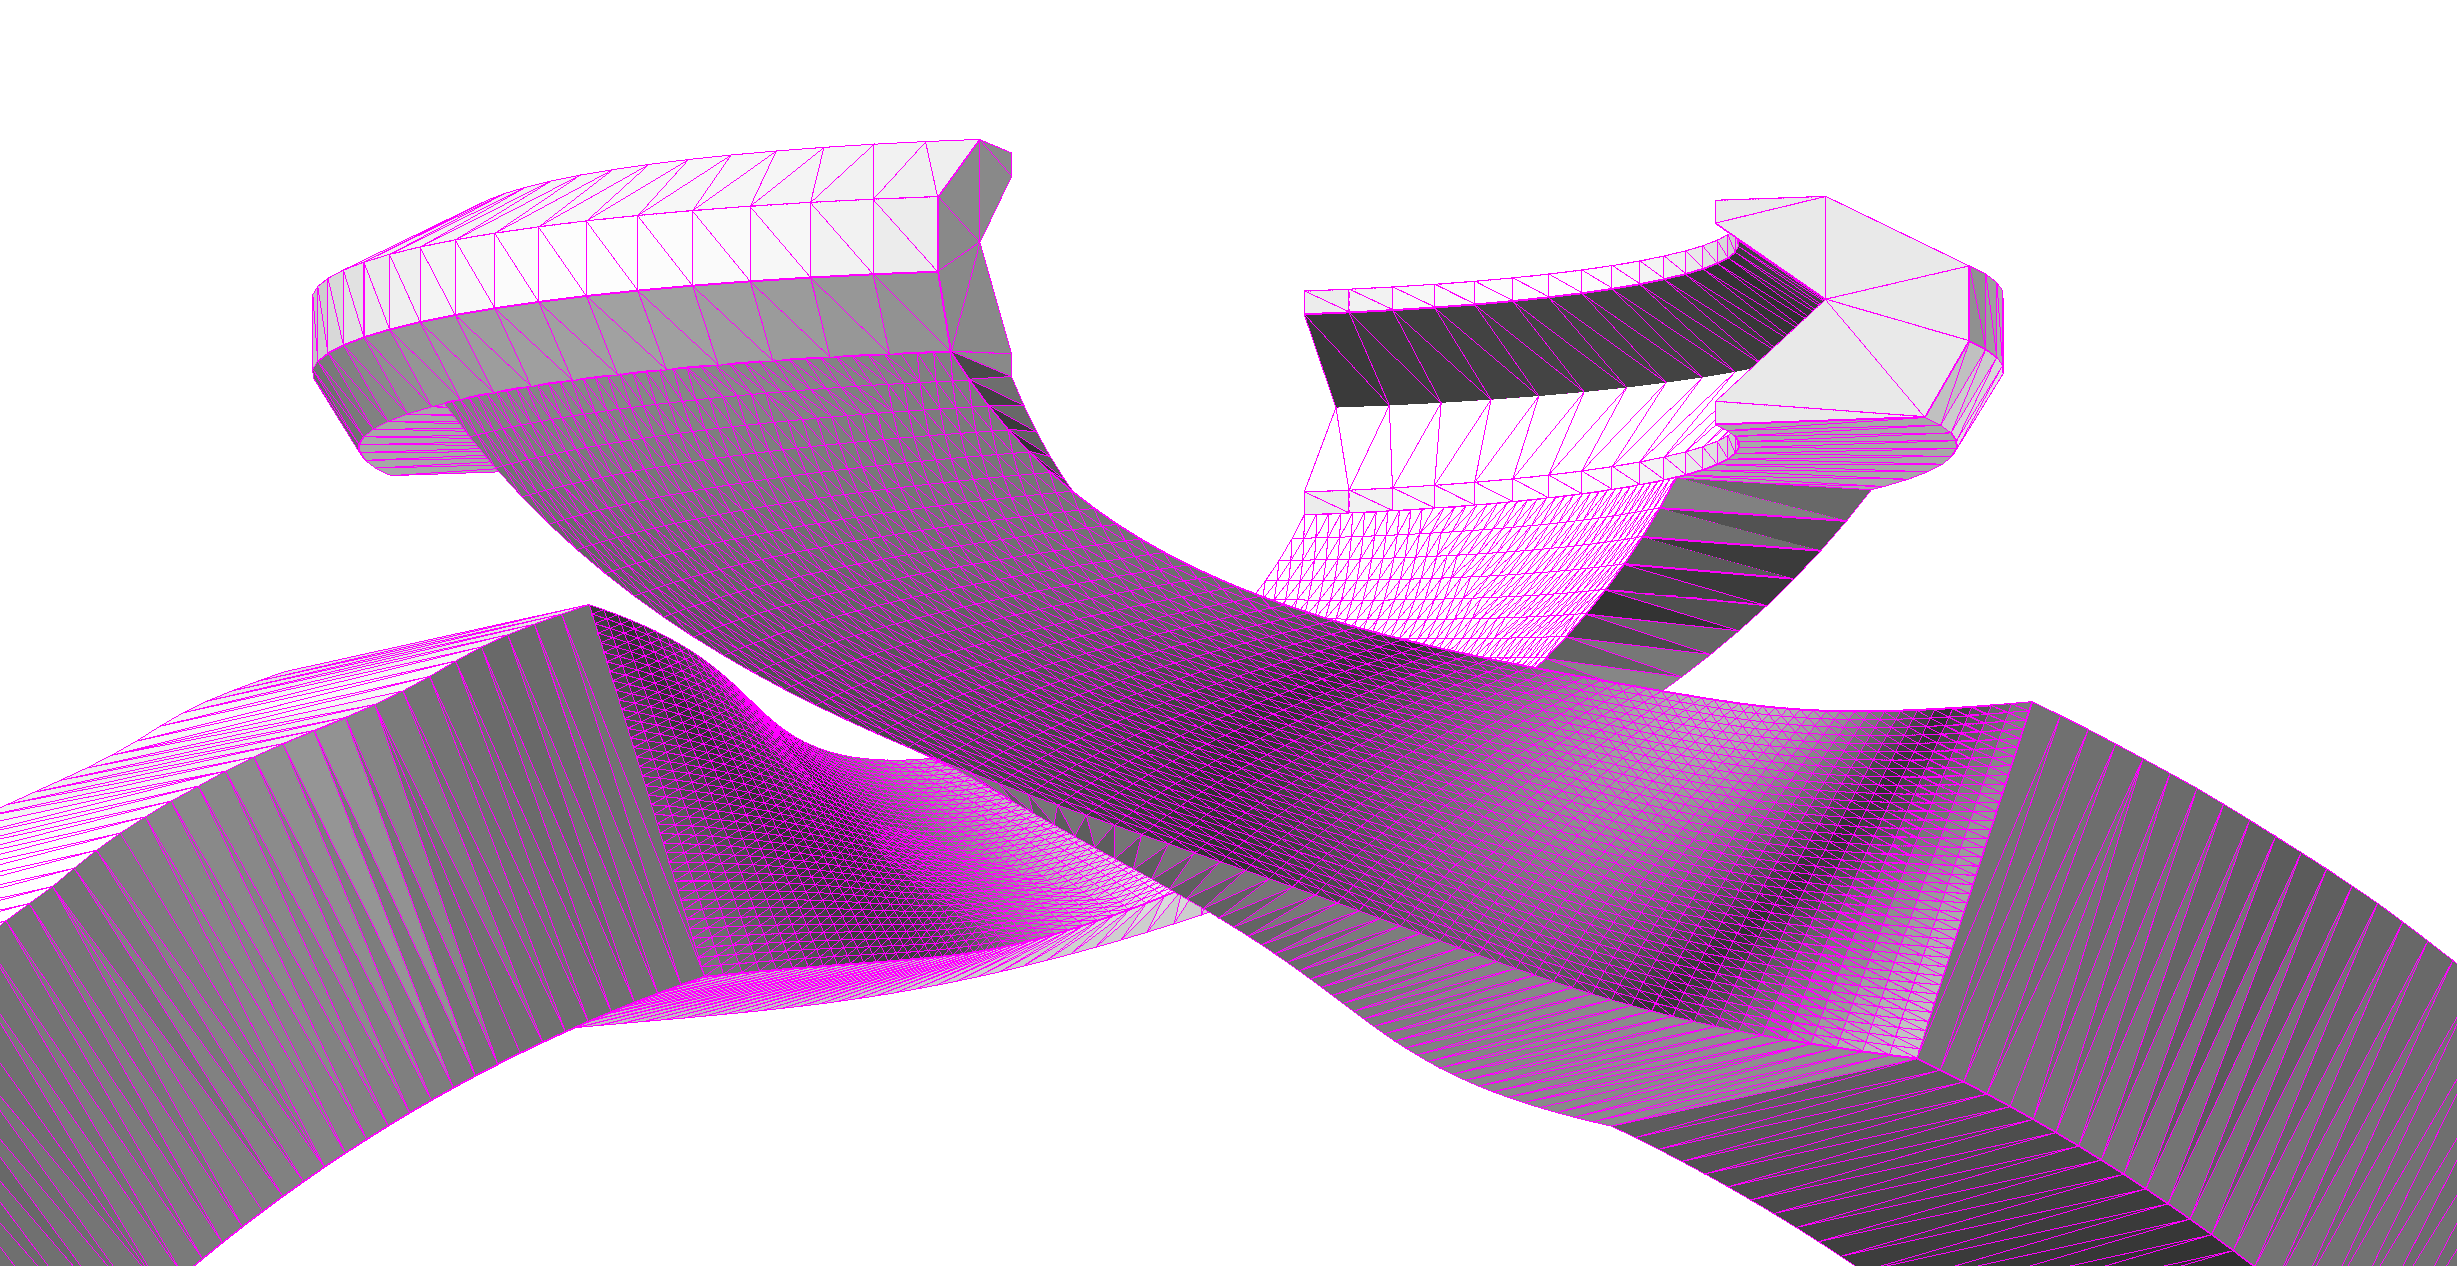
This had the added benefit of making a nice hole for the diamond:

Hmm, so this section about code doesn't actually contain any code. Maybe that's for the better- its not exactly pretty.
Finishing
So now we have a design and its time to print it. Something important to note here- this is very small! Many metal printing services only have a resolution of 0.5mm. Some of the features on here are that size- I needed to find something a lit better. Protolabs was the only one I found that fit the bill that printed up to 2 micron- that'll do nicely!
So after tripple checking my dimentions and sizing I uploaded model, paid them some money and the next thing it arrived- what a day!
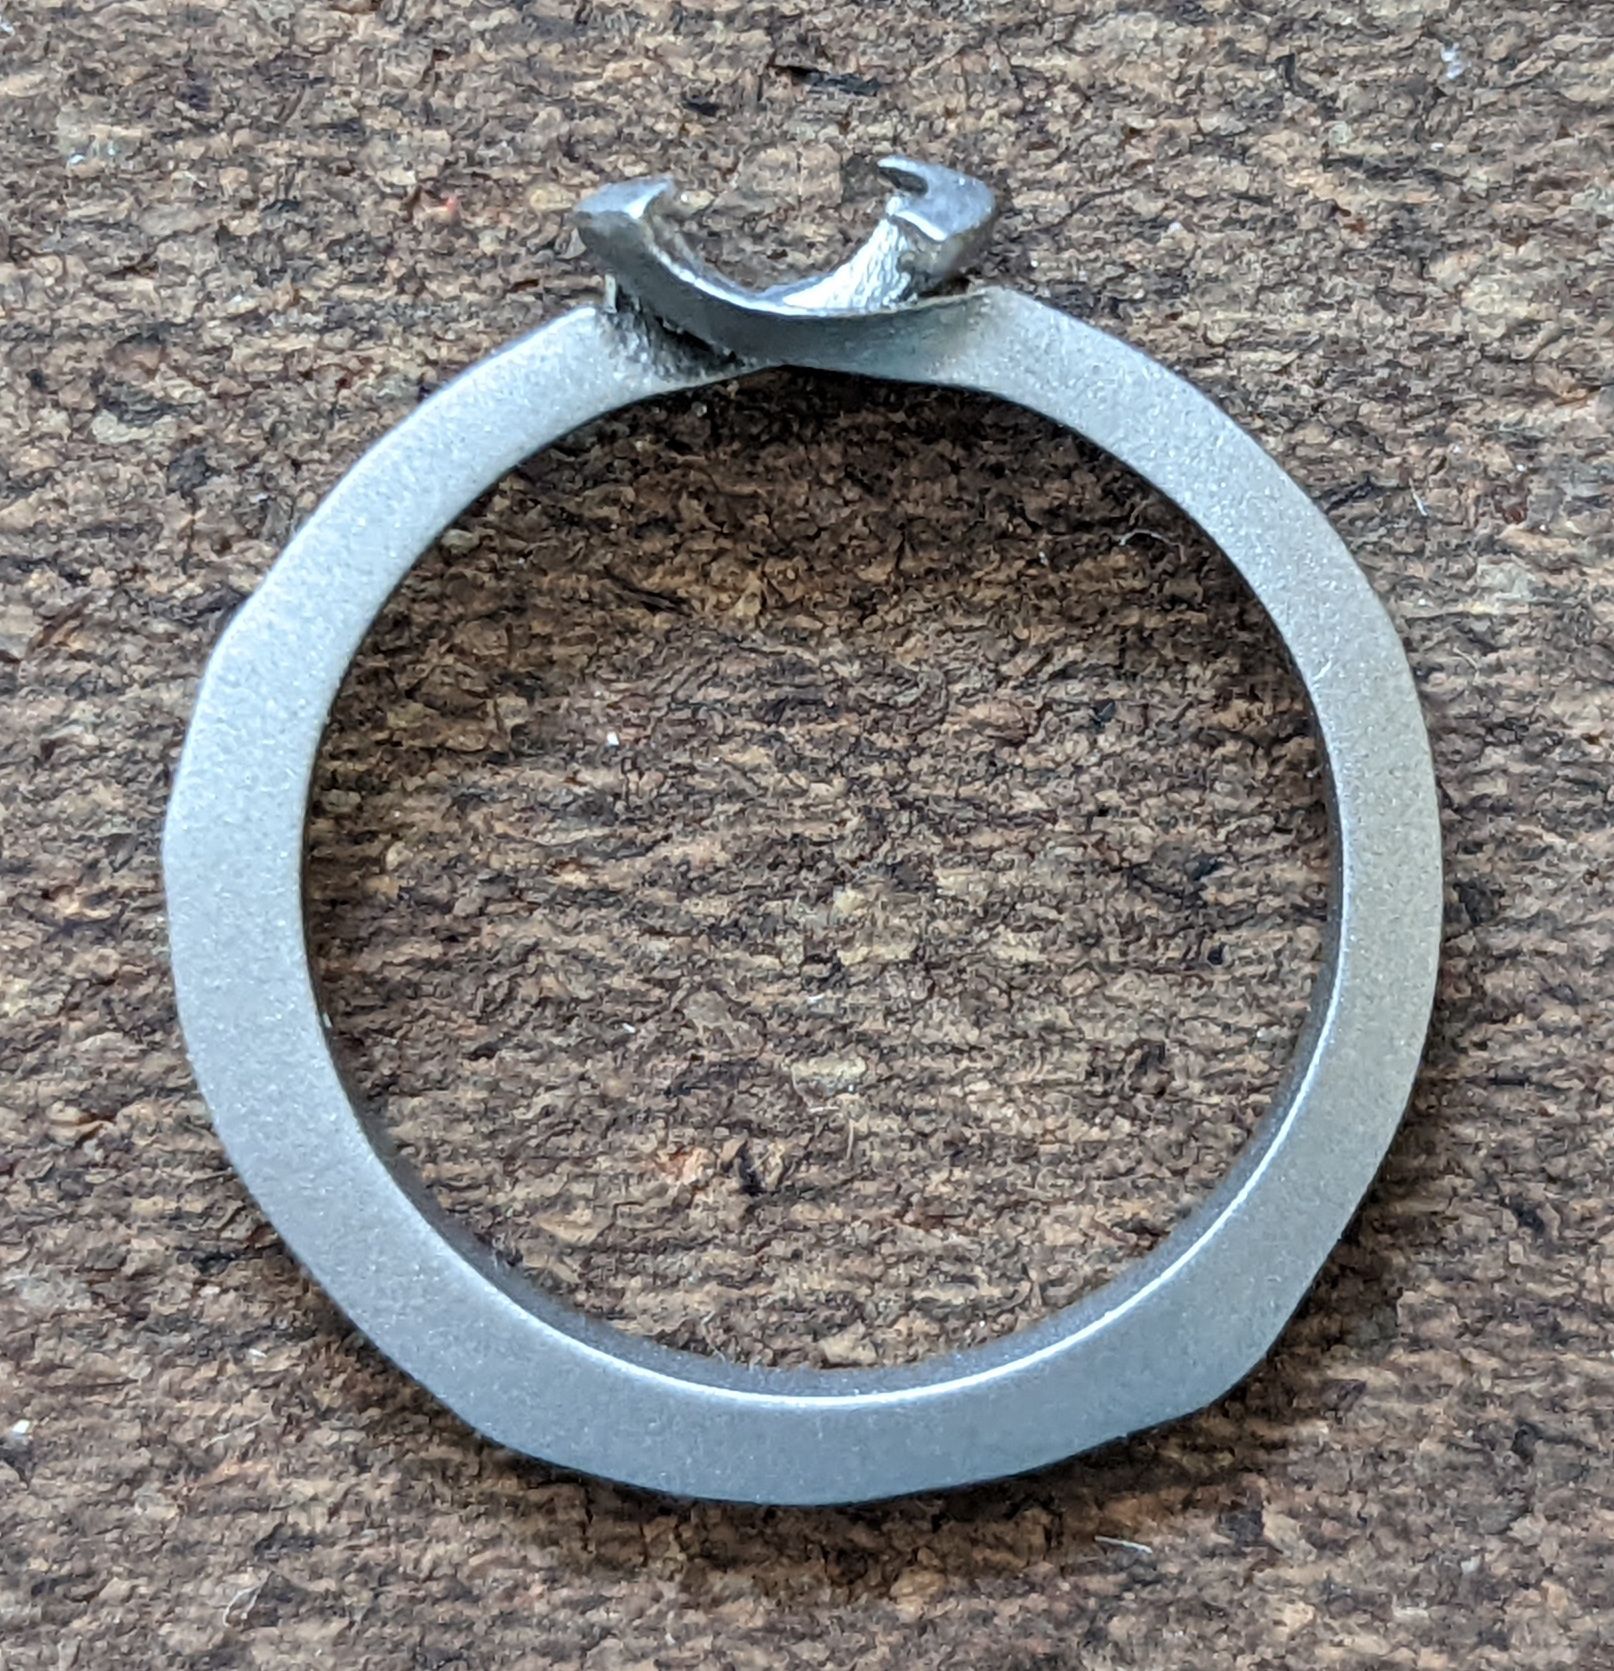
So that't pretty cool- my dimentions were right and it has a nice matt finish to it. Once again, the eagle eyed amoung you might have noticed a slight problem...
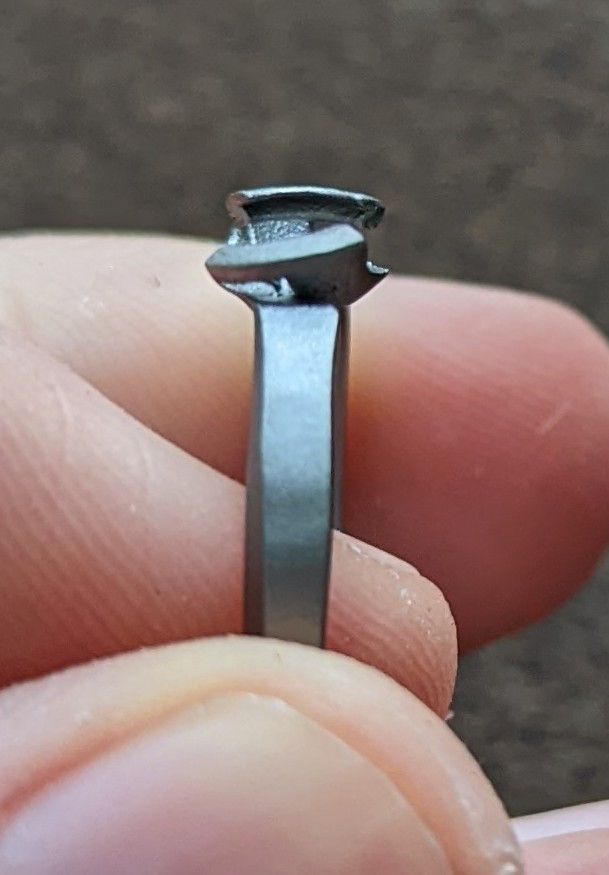
The claws are not parallel. After a chat with protolabs it comes down to the way it is printed and having that one claw hanging out so far and not being supported is a problem. Something to fix in the next one? Using a lot of force (Did I mention titanium is strong?) I was able to get it straight enough.
Now titanium can easily be anodised to all types of cool colours, but I was informed that a blue ring was not desired, so this one remained silver. But to get it silver took a fair amount of polishing.
The 3D printing process does not leave a perfect surface and so I started sanding at 100 grit and worked my way all the way to 2500.
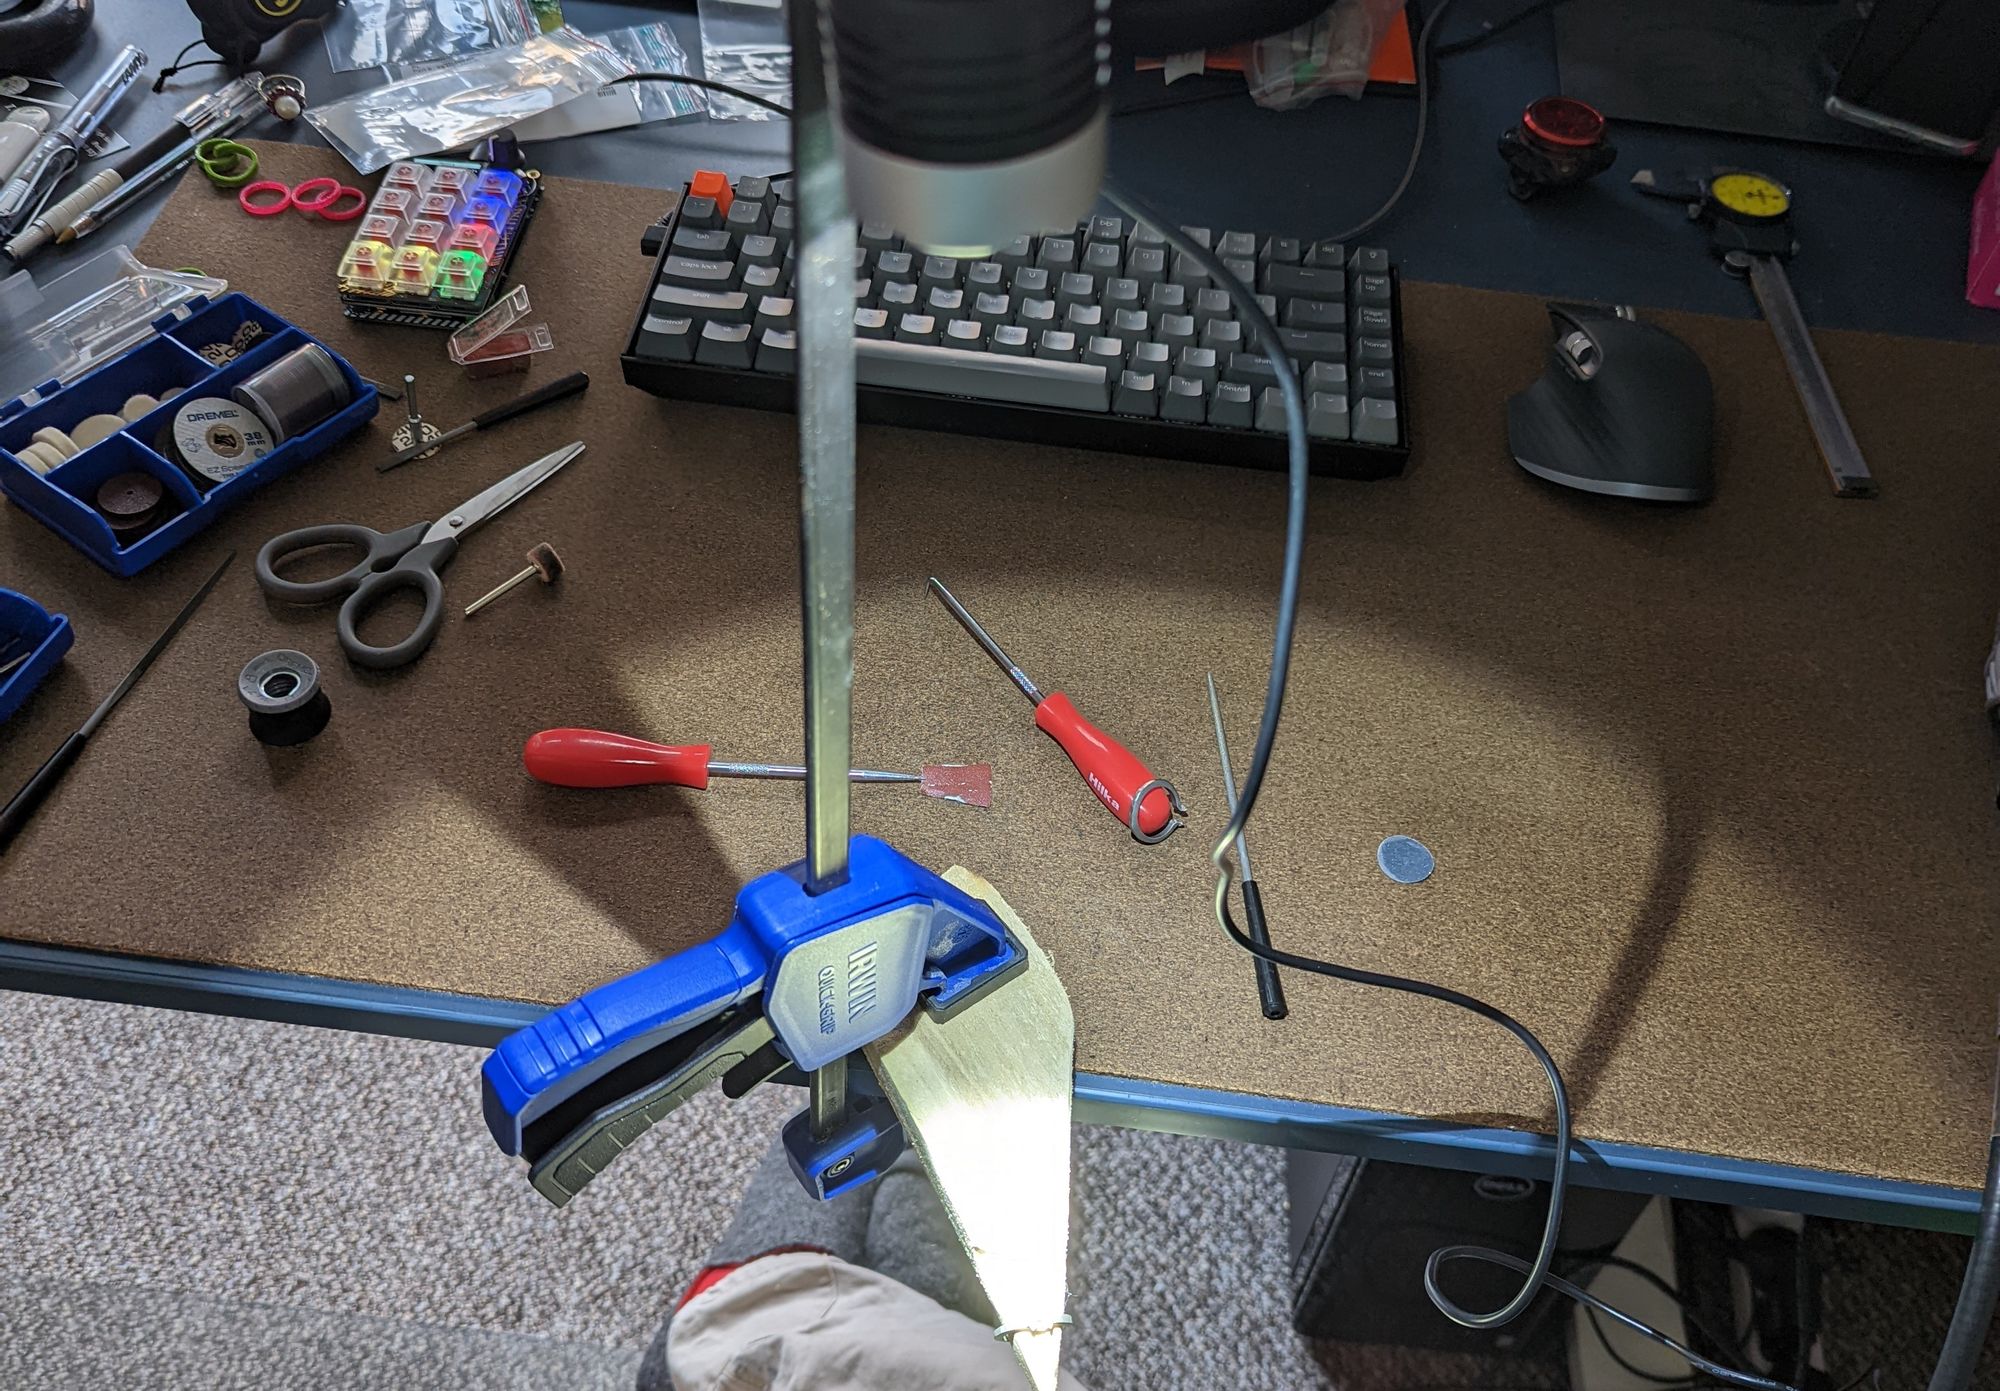
This not being my day job, I had to make a couple of additions to my desk to make the dremel work a bit easier:
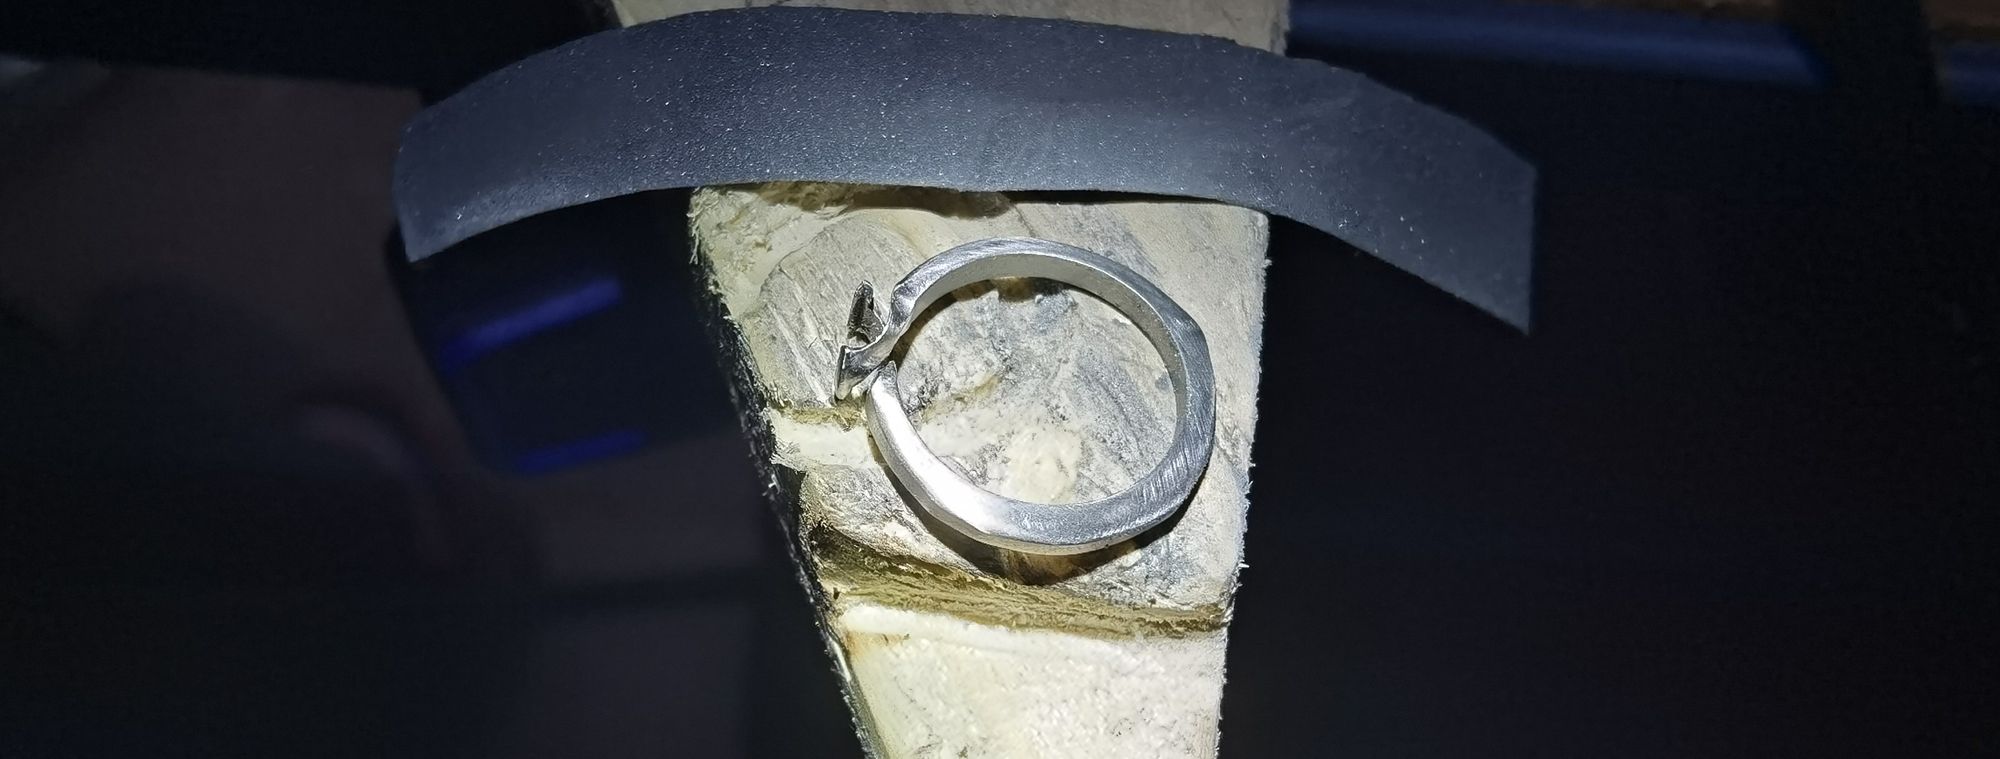
I also decided to leave the outside edge with its 3D printed finish as I think this gives it a nice but of contrast:
At this point I was quite chuffed with myself, but I had been ignoring the elephant in the room. Would the diamond fit and would I be able to get it into place.
At this point I was about a month into this project and let's just say I was more then a little nervous. I had made the situation worse by putting the ring in the vice before polishing it just to see what happened when you squeezed it closed. The result did not inspire confidence as the two pieces that went to the claws started hitting each other and pushed the claws out of alighment. I think I started polishing at that point because I figured that should go well and build up some confidence.
So polishing done, it was time to get this little hard piece of carbon, that costs more than it should, into place. Just to add to the pressure I read a few things warning that diamonds are hard, but not strong, so a sharp point force in the wrong place could crack them. I mentioned titanium is hard right?
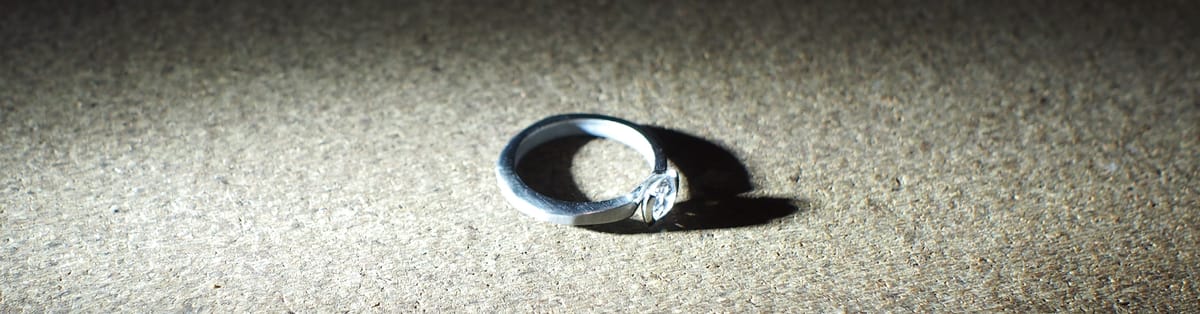
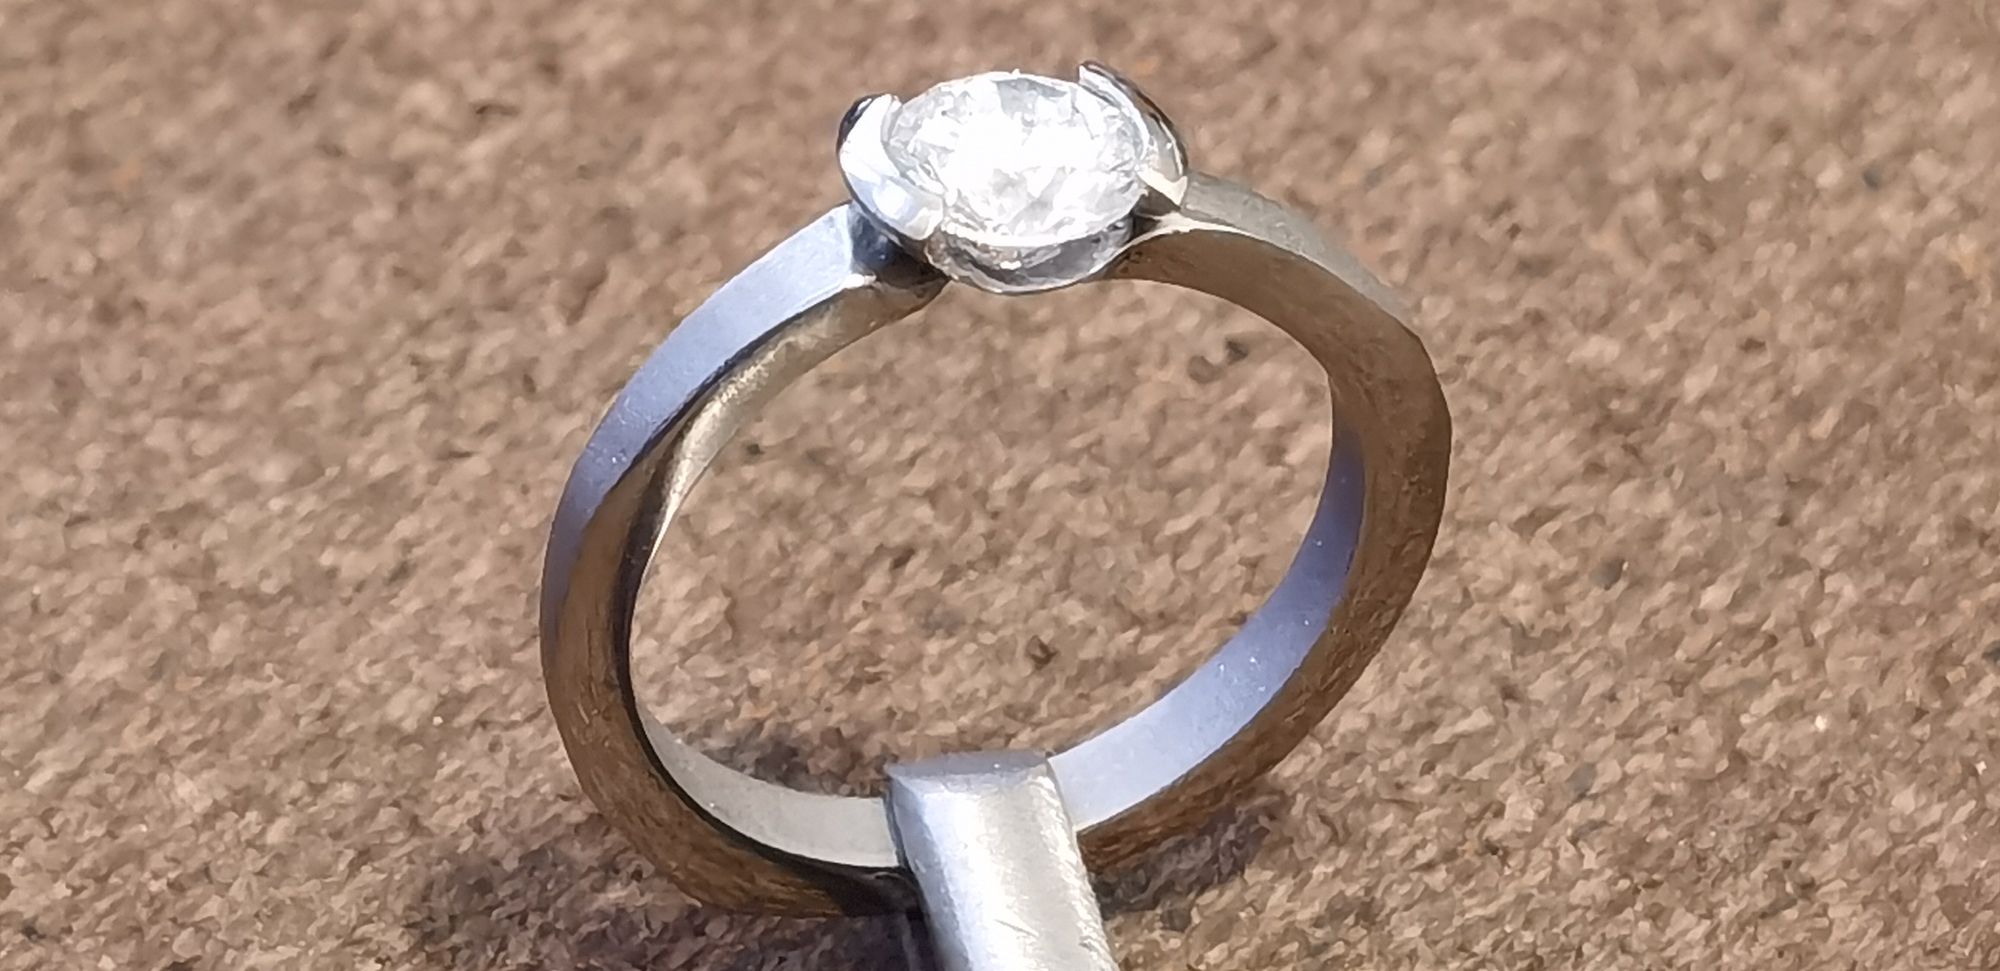
Another round of polishing later and I could not delay this any more. It took longer than my nerves wanted, but eventually after some repositioning in the vice to push the claws back into line I had a result. It was pretty uneventful in the end, but I started laughing manically. I had made a thing. Fiancee wanted to know what all the fuss was about and I nearly walked in proposed right then and there, but managed to resist and just kept laughing.
I love the final result, but naturally I'm biased. Fiancee loves it too and that's all that matters at the end of the day.
I would like to thank a couple of people- Ruth and Miranda for some design guidelines, Protolabs for the quick turnaround and explanations and last by not least- Fiancee- the key to this project.
If you have any questions, please reach out- I'm on twitter or you can email me at hello@rexfuzzle.com
Be unique!